How to Install Closeboard Fencing: A Step-by-Step Guide
Published on 31 August 2023
When it comes to enhancing your property’s privacy and security, closeboard fencing is a popular and practical option. This comprehensive guide will walk you through the step-by-step process of installing closeboard fencing, equipping you with the knowledge and skills needed to complete the project successfully. Whether you’re a seasoned DIY enthusiast or a homeowner eager to take on a new challenge, follow these instructions to create a study and professional-looking close board fence for your property.
Understanding Close board Fencing and Its Benefits
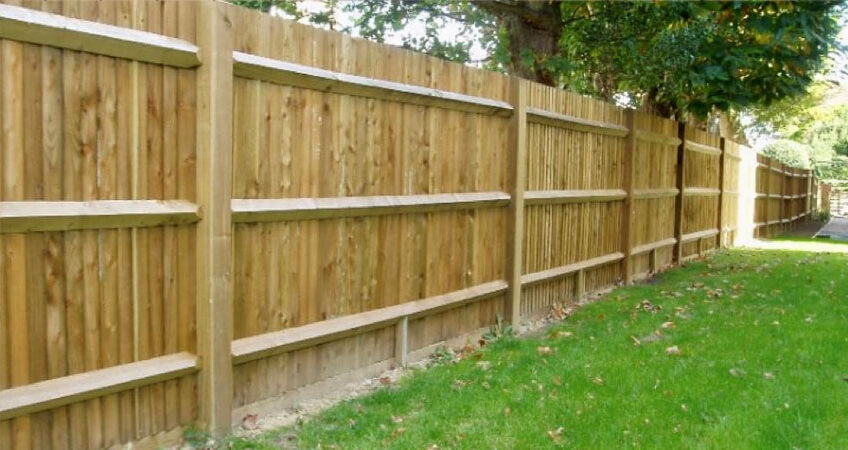
Closeboard fencing, also known as feather edge fencing, is a versatile and robust fencing solution. This type of fencing is constructed using vertically overlapping boards, which are nailed or screwed onto horizontal rails. The boards are typically arranged diagonally, ensuring that the fence is both durable and visually appealing. Here are some of the benefits of closeboard fencing:
Durability:
Closeboard fencing is renowned for its durability. The overlapping design provides added strength and stability, making it suitable for areas prone to strong winds.
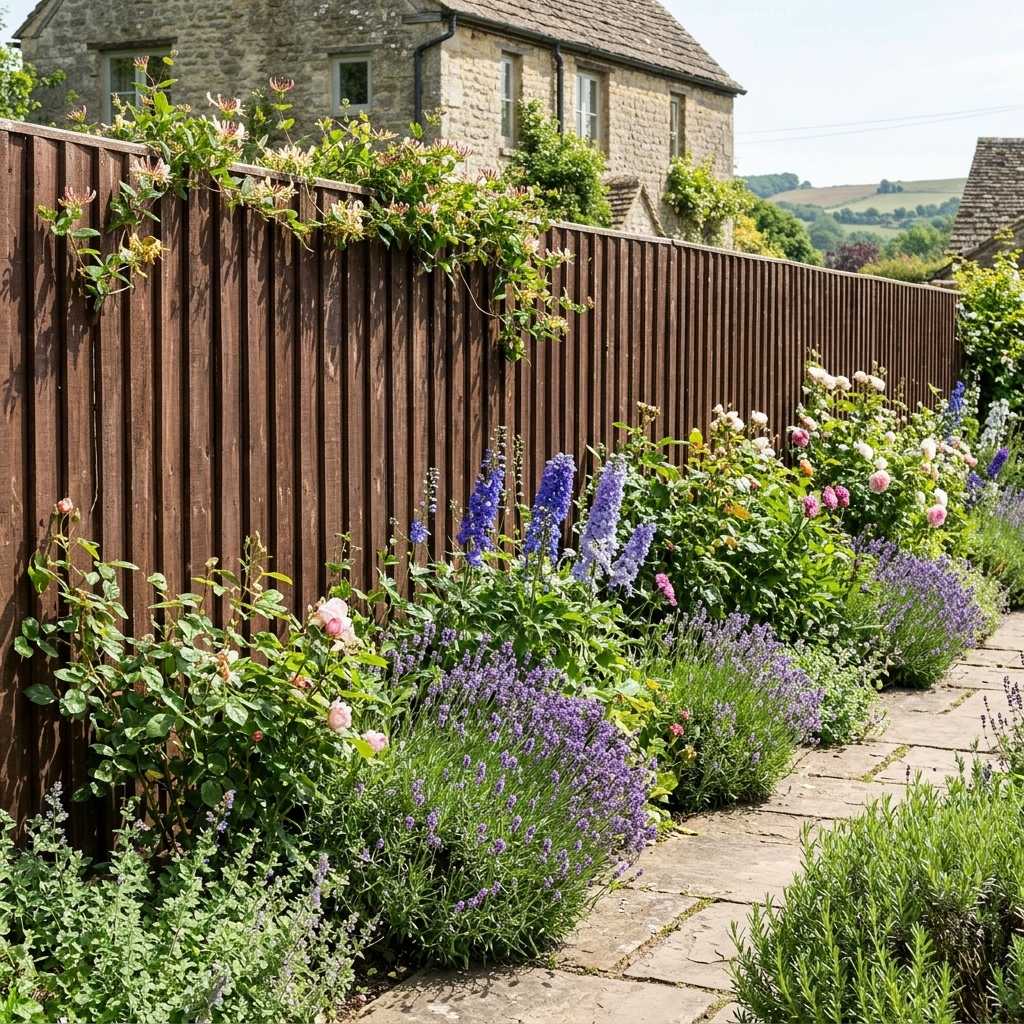
Privacy:
The tightly fitted boards offer excellent privacy, making it an ideal choice for residential properties, gardens, and outdoor spaces.
Security:
The solid construction of closeboard fencing acts as a deterrent to potential intruders, enhancing the security of your property.
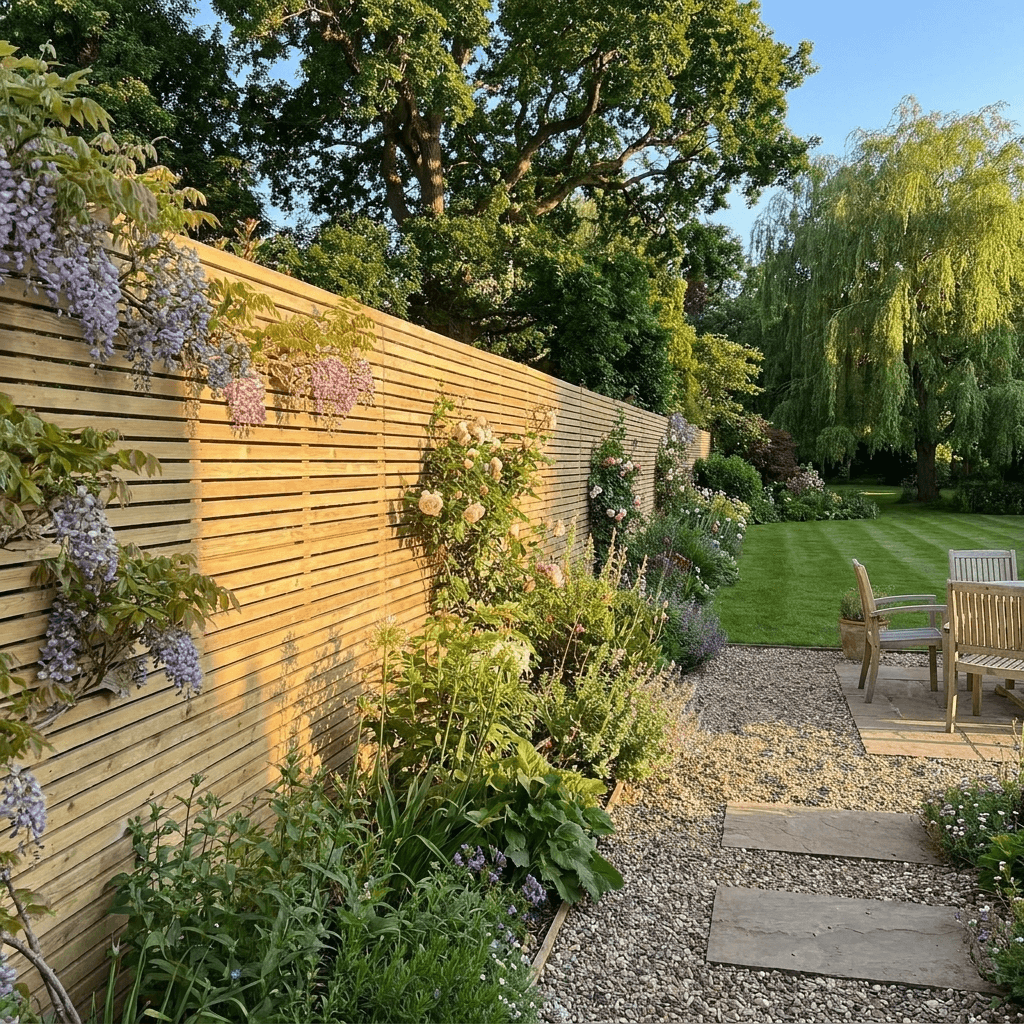
Customisation:
Closeboard fencing can be customised in terms of height and finish, allowing you to choose a style that complements your property.
Tools and Materials Required for the Installation
Before you begin the installation process, gather the necessary tools and materials. Here’s a list of what you’ll need:
- Closeboard fence panels or individual fence boards
- Wooden posts
- Gravel or post mix
- Rails
- Spirit level
- Measuring tape
- Hammer or nail gun
- Screws or nails
- Saw
- Post hole digger or auger
- Concrete (for securing posts)
- Brackets (for attaching rails)
- String line
Preparing for the Closeboard Fencing Installation
- Check Regulations:
Before starting the project, check local regulations and obtain any necessary permits.
- Plan and Measure:
Measure the length of your fence line accurately. Mark the positions of the posts, ensuring they are evenly spaced. Use string lines to establish a straight guideline for your fence.
- Digging Holes:
Dig holes for the posts using a post hole digger or auger. The depth of the holes should be determined by the height of your fence and the local soil conditions.
- Setting the Posts:
Place the posts in the holes and fill them with gravel or post mix. Use a spirit level to ensure the posts are perfectly vertical.
Step-by-Step Installation Process
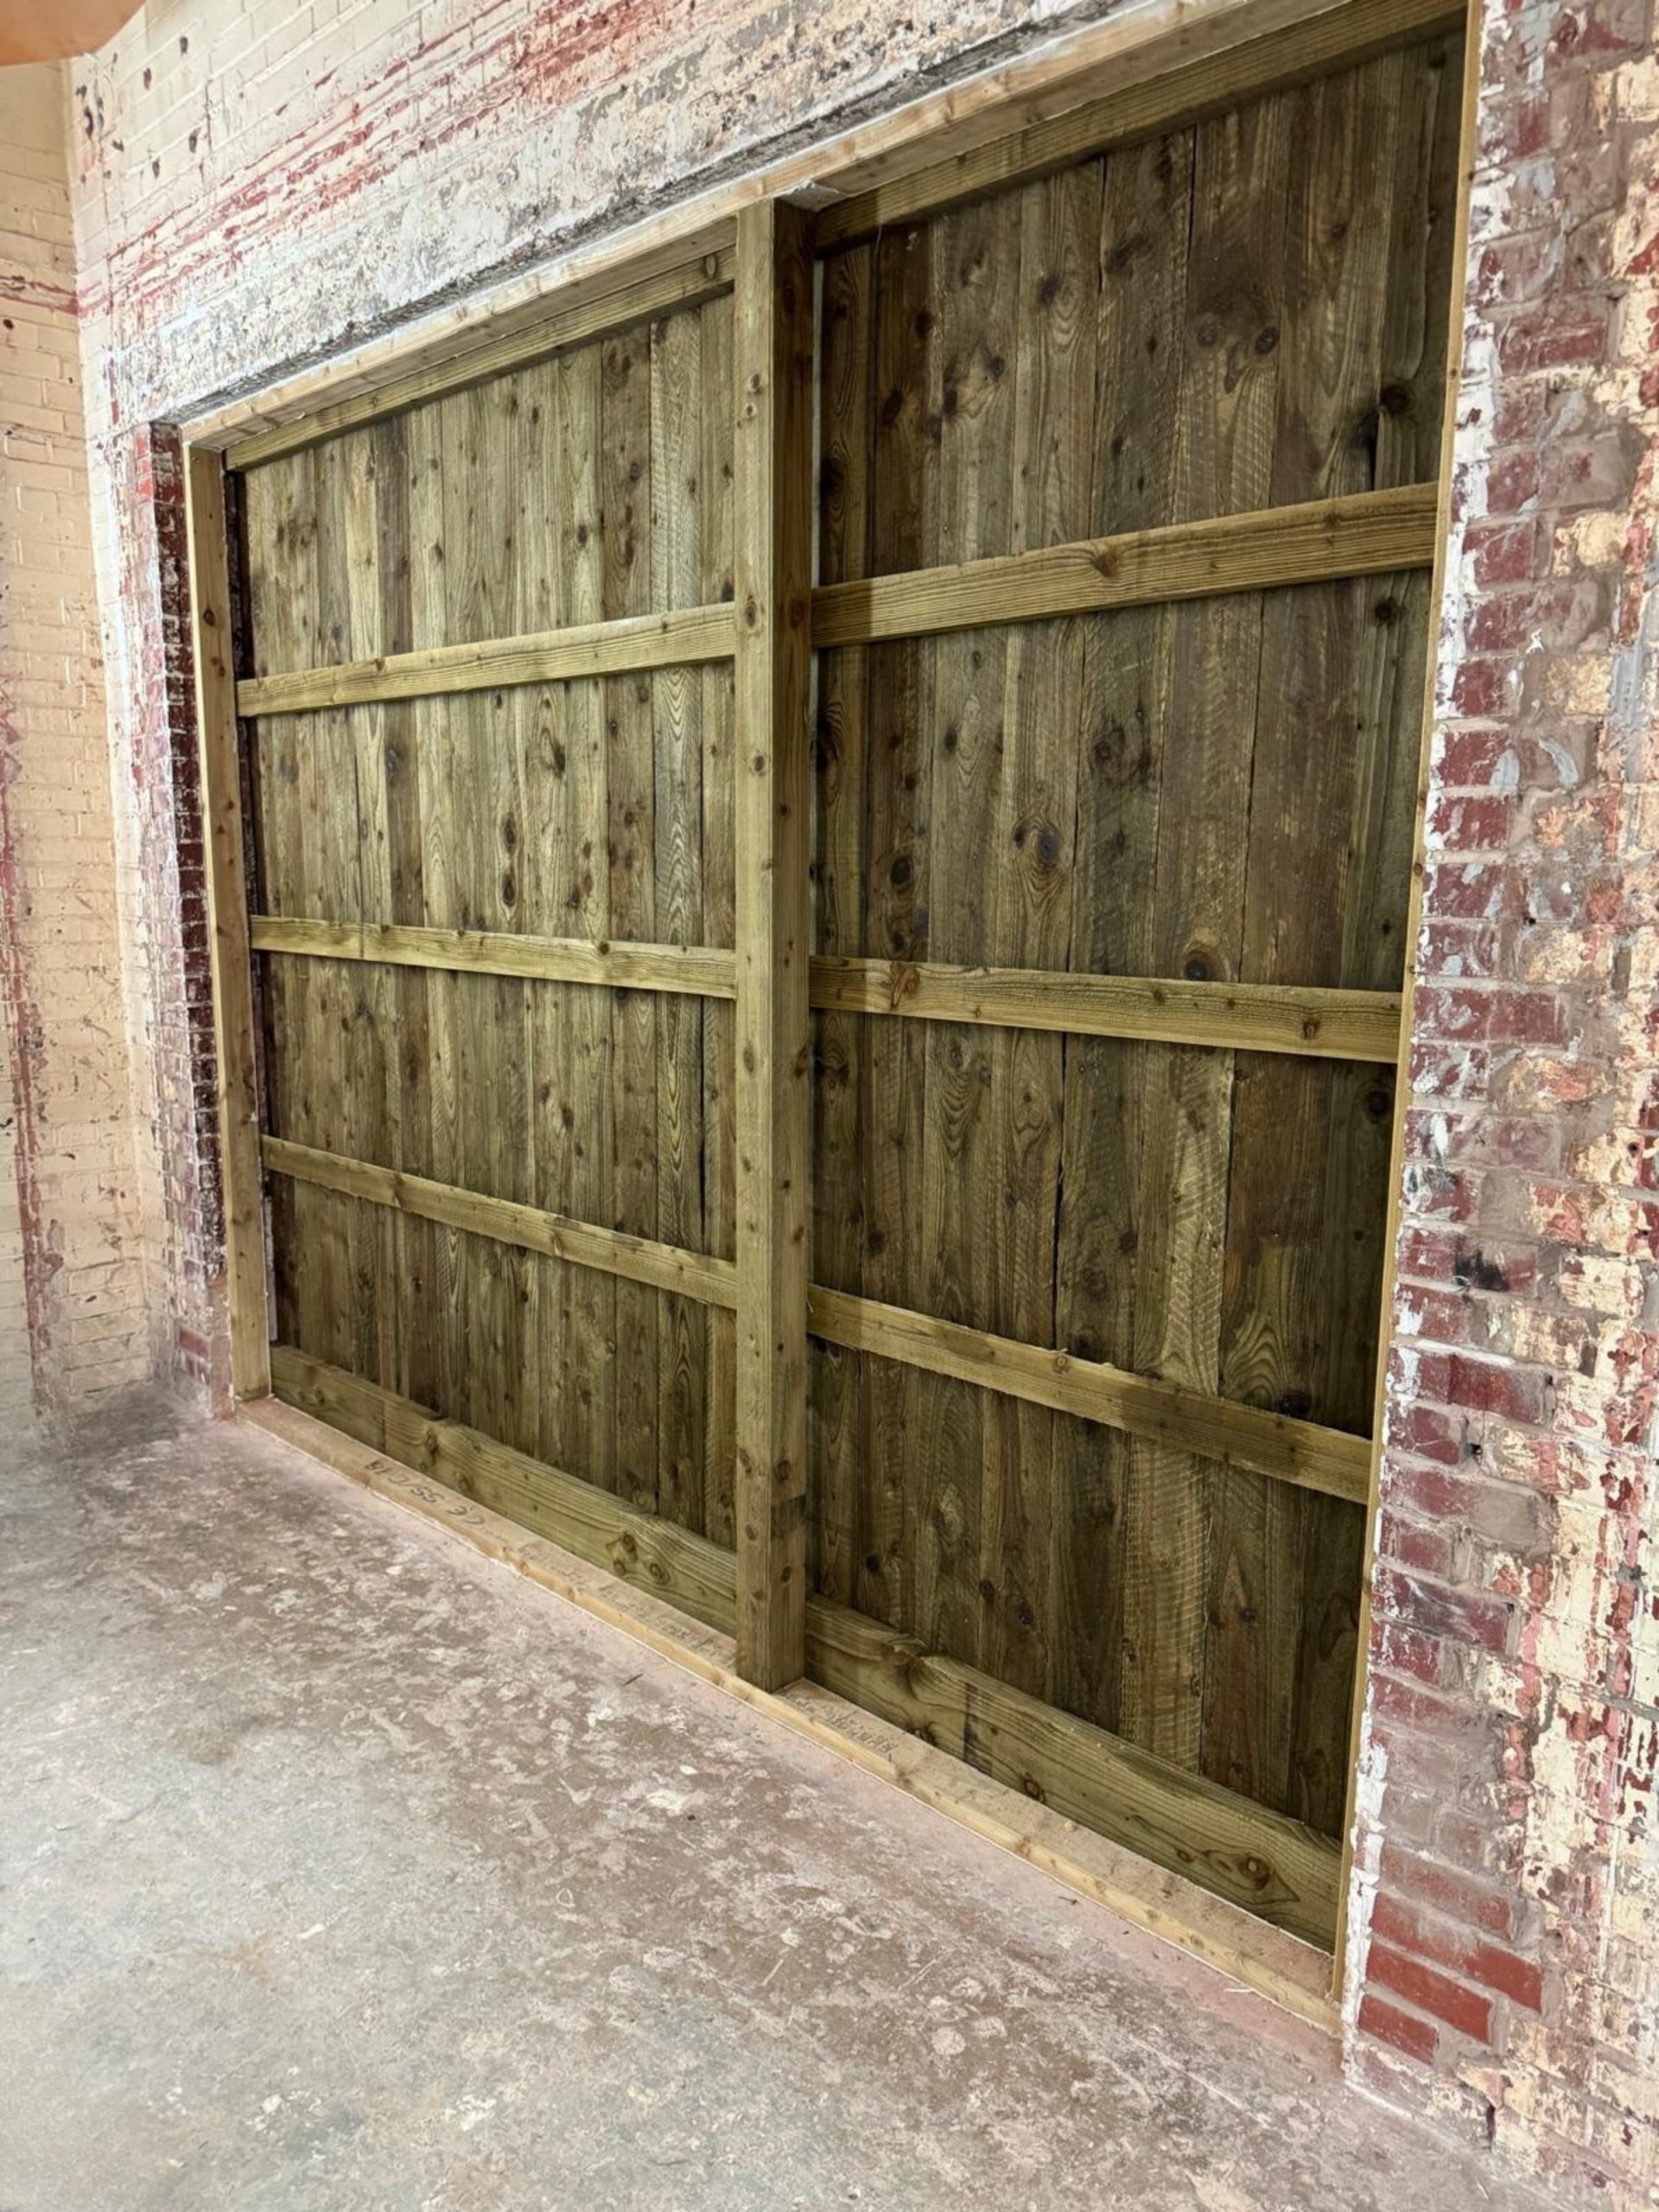
- Attach Rails:
Secure horizontal rails to the posts at the top, middle, and bottom of the fence using brackets.
- Attach Boards:
Starting at one end, attach the boards diagonally to the rails. Overlap each board slightly for added strength. Use screws or nails to secure the boards.
- Continue Board Attachment:
Continue attaching boards until the entire fence is covered. Trim the final board to fit if necessary.
- Add Capping:
Attach capping boards to the top of the fence for a polished finish.
Tips for a Sturdy and Professional Finish
- Use Quality Materials:
When it comes to the longevity and overall performance of your closeboard fence, the significance of quality materials cannot be overstated. Opting for high-quality boards, posts, and fixings is a crucial step in ensuring a fence that stands the test of time. Quality materials offer enhanced durability, better resistance to weather conditions, and reduced maintenance requirements.
- Double-Check Measurements:
When it comes to installing closeboard fencing, precision is paramount. Double-checking your measurements and ensuring that your fence posts are level are fundamental steps that contribute to a polished and sturdy end result. Accurate measurements prevent inconsistencies in the alignment of fence panels, ensuring a uniform appearance.
- Secure Rails Properly:
The solidity of your closeboard fence hinges on the secure attachment of its horizontal rails. Strong rail attachment plays a pivotal role in maintaining the stability and structural integrity of the entire fence. To achieve this, it’s essential to ensure that the brackets used to affix the rails to the posts are firmly fixed. A sturdy rail connection not only prevents wobbling or sagging but also contributes to the overall robustness of the fence.
- Regular Maintenance:
After the successful installation of your closeboard fence, ongoing maintenance is the key to preserving its longevity and aesthetic appeal. Regular upkeep, such as painting or staining, serves as a protective barrier against the effects of weather, moisture, and time. These maintenance tasks not only enhance the fence’s visual charm but also prevent deterioration, warping, and rotting of the wood.
Potential Challenges and Considerations
Soil Conditions: Rocky or Clay-Heavy Soil
When beginning on your close board fencing installation, the nature of your soil can present a significant challenge. Rocky or clay-heavy soil can make the process of digging holes for your fence posts more demanding. The presence of rocks or compacted clay can slow down the digging process, requiring more effort and possibly specialized tools. If you come across such conditions, consider using a rock bar or pickaxe to break through hard soil, and be prepared for the digging process to take longer than anticipated. Additionally, opting for post mix or gravel instead of concrete for securing the posts may help in these soil conditions.
Slope or Uneven Ground
The shape of your land is another factor that can impact the installation of closeboard fencing. If you’re dealing with sloping or uneven ground, it’s essential to adjust the heights of the fence posts to accommodate these changes. Uneven ground can lead to panels that aren’t aligned correctly or a fence that appears crooked. To address this, consider using stepped panels where the height of the fence panels varies to follow the slope of the land. This approach not only ensures a visually pleasing result but also maintains the structural integrity of the fence. Properly measuring and planning for post placement will be crucial in achieving a level and sturdy fence on uneven ground.
Neighbouring Properties and Communication
When installing closeboard fencing, remember that the project might extend beyond your property line. If the fence borders a neighbouring property, it’s crucial to communicate with your neighbours before proceeding. Discuss your plans with them, informing them about the installation process and potential disruptions. Your neighbours’ input and approval may be necessary, especially if the fence’s appearance affects their property as well. Open communication can help prevent any misunderstandings or conflicts and create a positive relationship with those who share the fence line. This step is not only considerate but can also prevent legal issues or disputes down the line.
DIY vs. Hiring a Professional
While DIY installation can be rewarding, hiring a professional may be beneficial if you’re unsure about certain aspects, lack the necessary tools, or have limited time. Professionals can ensure a quicker and potentially more polished result.
Installing closeboard fencing can significantly enhance the appearance, privacy, and security of your property. By following this step-by-step guide, you’ll be well-equipped to tackle the project and create a closeboard fence that adds value to your home. Remember to adhere to safety precautions and local regulations throughout the installation process. Whether you choose the DIY route or opt for professional assistance, the result will be a fence that stands as a testament to your property’s charm and functionality.
If you are looking for high quality fencing supplies then contact or visit us at Linnell Bros. Being a high quality timber merchant with our own onsite wood mill & workshop, means that we can supply you with the exact wood that you need. Contact us on 01327 354422, or visit our contact page to send a message.