
The Ultimate Guide to Installing a Garden Gate
Published on 29 July 2026
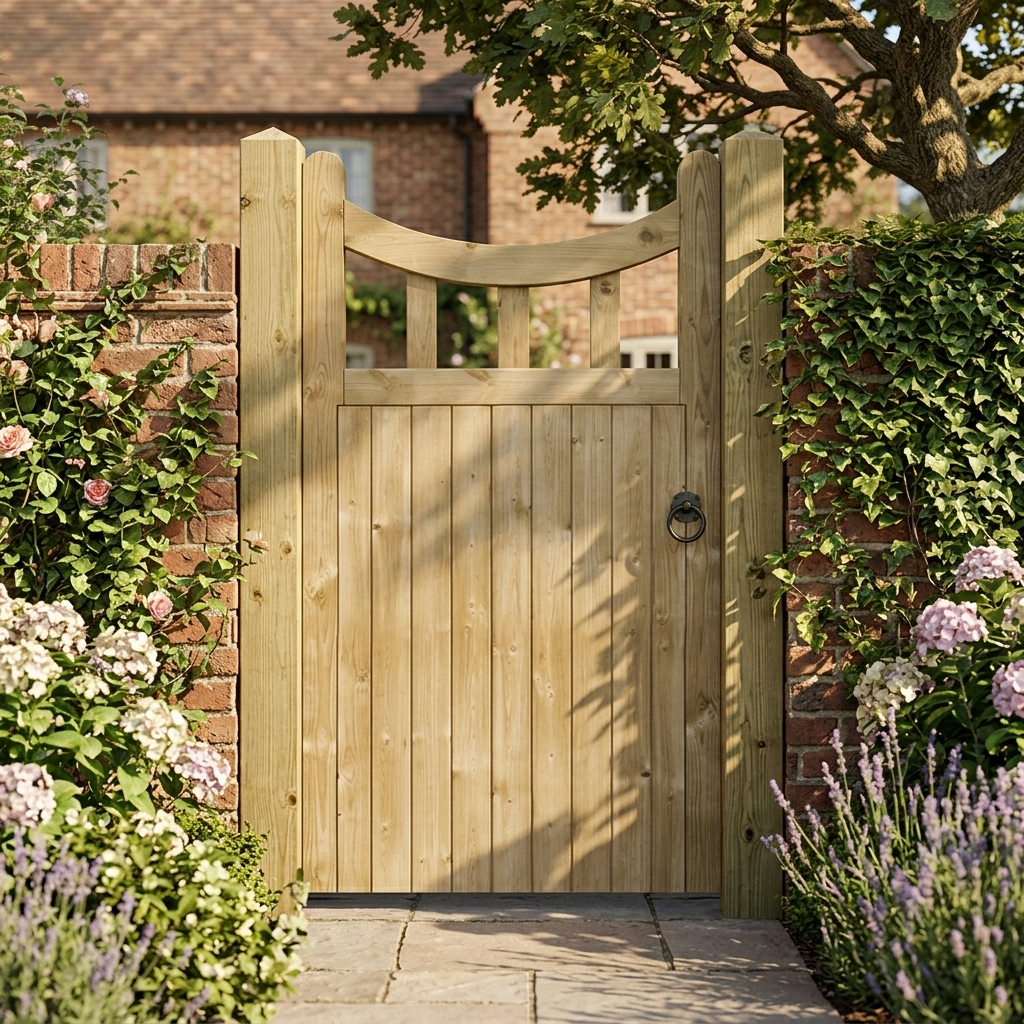
A garden gate is more than just an entry point; it provides security, keeps pets and children safe, and can offer a first impression of your home. However, a poor gate installation – one that drags, won’t latch, or leans awkwardly – can quickly become a frustration, and not to mention, an eyesore.
Many DIY enthusiasts feel confident installing fence panels but may hesitate when it comes to gate installation. It involves moving parts, precise measurements, and a bit more technical know-how than sliding panels between posts. With the right preparation and guidance, installing a smooth-swinging gate is a project you can get sorted quickly.
At Linnell Bros, we have been supplying high-quality timber and fixings for over 145 years. We know that the secret to a long-lasting gate lies in the details. This guide will walk you through the entire process, from selecting the right materials to the final adjustment of the latch, ensuring your new gate stands the test of time.
Contents
- Preparation & Materials
- Setting the Posts
- Hanging the Gate
- Fitting the Furniture
- Frequently Asked Questions
Phase 1: Preparation and Materials
Before you pick up a drill or a spade, you need to ensure you have the right components. A gate is subjected to constant movement and slamming, so it is not the time to skimp on materials.
Choosing the Right Gate
- Style Match: Ideally, your gate should match your fencing. If you have closeboard fencing, a closeboard gate is the natural choice. For a more decorative touch, a picket or a Blakesley tongue-and-groove gate are excellent options.
- Bracing: Look for a gate with substantial cross-bracing on the back. This diagonal strut transfers the weight of the gate back to the hinges, preventing it from sagging over time. All Linnell Bros gates are fully framed, ledged and braced for maximum strength.
The Essential Hardware Kit
You cannot hang a heavy timber gate with standard door hinges. You need heavy-duty outdoor ironmongery.
- Hinges: For most garden gates, T-hinges are the standard. They should cover at least one-third of the gate’s width to provide adequate support. For heavier gates, adjustable hook and band hinges allow you to tweak the alignment if the gate drops slightly over the years.
- Latches: A ring latch is a classic choice that can be operated from both sides. A Suffolk latch is another robust, traditional option.
- Bolts: For security and rigidity, add 2 pad bolts (which accepts a padlock) or 1 pad bolt and 1 long drop bolt at the bottom to secure the gate when closed. It’s vital to have bolts installed at the top and bottom of your newly installed gate to reduce the risk of twisting and warping.
All of these items are included in our Gate Latch Kit.
Tools You Will Need
- Tape measure and pencil
- Spirit level (essential for vertical posts)
- Drill with wood bits and screwdriver bits
- Spanner or socket set (if using coach bolts)
- Chisel and hammer (for recessing latches)
- Wedges or blocks of wood (to support the gate during installation)
Phase 2: Setting the Posts
The most critical part of gate installation happens before the gate is even involved. The gate posts must be rock-solid. A standard fence post is rarely strong enough to support the dynamic load of a swinging gate.
1. Select the Right Timber
Always use a larger, dedicated gate post. For a standard pedestrian gate, a 100mm x 100mm (4×4 inch) post is the minimum. For wider or heavier gates, upgrade to 125mm x 125mm (5×5 inch) or even 150mm x 150mm (6×6 inch). All of the timber from Linnell Bros is pressure-treated to UC4 for ground contact to prevent rot at the base.
2. Dig Deeper
Gate posts need to be set deeper than standard fence posts – typically at least 600mm to 900mm deep depending on the soil type. This depth acts as a counter-lever to the weight of the gate. Aim to have the gap between the fence posts 15-20mm wider than the width of the gate.
3. Concrete and Level
Set the posts in quick-setting Post Mix. Use your spirit level to ensure the post is perfectly vertical (plumb) on two adjacent sides. If the post leans even slightly, the gate will either swing open on its own or refuse to stay closed, not to mention it won’t look good!
Pro Tip: Let the concrete cure for at least 24 hours before hanging the gate. If you hang the gate too soon, the weight could pull the post out of alignment while the concrete is still “green.”
Phase 3: Hanging the Gate
Once your posts are set and solid, it is time to hang the gate.
1. Dry Run and Spacing
Place the gate in the opening. It should not fit tightly because of the gap left in the post of roughly 10mm on the hinge side and 10mm on the latch side to allow for the timber to swell in wet weather. Without this expansion gap, your gate may jam in winter.
Use blocks of wood or wedges underneath the gate to prop it up to the desired height – usually a 50mm gap at the bottom of the gate. Check that the top of the gate is level with the fence line, or at your preferred height and level, if not part of a fence run.
2. Positioning the Hinges
- Top Hinge: Place the top T-hinge on the top horizontal rail of the gate.
- Bottom Hinge: Place the bottom T-hinge on the bottom horizontal rail.
- Crucial Rule: Never screw hinges to the thin vertical featheredge boards. They must anchor into the solid structural frame of the gate.
3. Fixing to the Post
With the gate propped in position on blocks:
- Hold the hinges flat against the post.
- Mark the screw holes with a pencil.
- Remove the gate and drill pilot holes to prevent the timber from splitting.
- Reposition the gate and screw the hinges to the post using heavy-duty galvanized screws or coach screws.
Check the Swing: Remove the blocks and test the swing. It should move freely without binding on the ground or the post.
Phase 4: Fitting the Furniture
The final step is adding the latch and bolt.
1. The Latch
Position the latch at a comfortable height, usually aligned with the middle rail or bracing.
- Drill a hole through the gate for the spindle if using a ring latch.
- Fix the handle plates on both sides.
- Fit the “keep” (the receiver for the latch bar) onto the receiving post. Ensure it is positioned so the latch bar falls into it smoothly when the gate closes.
2. Stops and Bolts
Install a gate stop. This is a vertical strip of wood nailed to the receiving post to prevent the gate from swinging past the post and damaging the hinges. Finally, fit your bolts for added security and rigidity. We always recommend one at the top of the gate and another at the bottom. This helps to hold the gate straight and avoid twisting.
Maintenance for Longevity
Even the best-installed gate needs care since timber is a natural material that moves with the seasons.
- Lubricate: Oil the hinges and latch once a year to prevent rust and squeaking.
- Treat: Apply a water-repellent stain or oil every 1-2 years to protect the wood from UV rays and rain.
- Adjust: If the gate starts to drag (drop), tighten the hinge screws or use the adjustment nuts if you installed adjustable hinges.
Conclusion
Garden gate installation is a rewarding project that instantly upgrades the functionality and curb appeal of your home. By choosing robust materials, setting your posts correctly, and allowing for proper clearance, you can build an entrance that welcomes you home smoothly every single day.
Remember, the strength of the gate relies entirely on the strength of the post. Get the groundwork right, and the rest will follow.
Have any question on gate installation? Give Linnell Bros a call on 01327 354422, email info@linnellbros.co.uk, use the Live Chat facility on our website or pop in and see us.
Frequently Asked Questions
This is usually caused by the gate post moving or the hinges sagging. If the post is loose, you may need to reinforce it with a concrete spur, replace warn hinges, and if you used adjustable hinges, simply tighten the top nut to lift the gate point back up.
This is vital. The diagonal brace on the back of the gate must point UP from the bottom hinge side towards the top latch side. This directs the weight of the gate down into the post. If it points the other way, the gate will eventually sag and pull apart. All stock gates at Linnell Bros are universal, meaning they can be hung on either side.
Yes, but you must use a wall plate. Do not screw hinges directly into brickwork as they will eventually pull loose. Bolt a timber wall plate (e.g., a 4×3 timber) to the brickwork using masonry fixings, and then screw the hinges into that timber.
Aim for a gap of at least 25mm to 50mm (1-2 inches) between the bottom of the gate and the ground. This allows for small stones, leaves, or uneven ground to pass underneath without jamming the gate.
Absolutely. Any time you drill a hole or cut a piece of pressure-treated timber, you expose the untreated core. Always dab these areas with an end-grain preservative to maintain the wood’s protection against rot.
Yes, we can! Select the style of your gate on our website then send us the dimensions for a quote.
Unfortunately we don’t offer an installation service, however we may be able to recommend an installer in your area – just get in touch!
We always recommend installing 2 bolts to your gate, one at the top and one at the bottom. This is to add security and avoid twisting, by holding the gate at both ends.